How to Replace a Hard Drive in Your Desktop PC
Table Of Contents
Removing the Old Hard Drive
Before beginning the process of removing the old hard drive, ensure that your desktop PC is powered off and unplugged. This precaution prevents any accidental electrical shock or damage to the components. Open the computer case by removing the side panel, which is usually secured with screws or thumb latches. Carefully set the panel aside in a safe location. Once inside, take note of the positioning of the hard drive and the various cables connected to it.
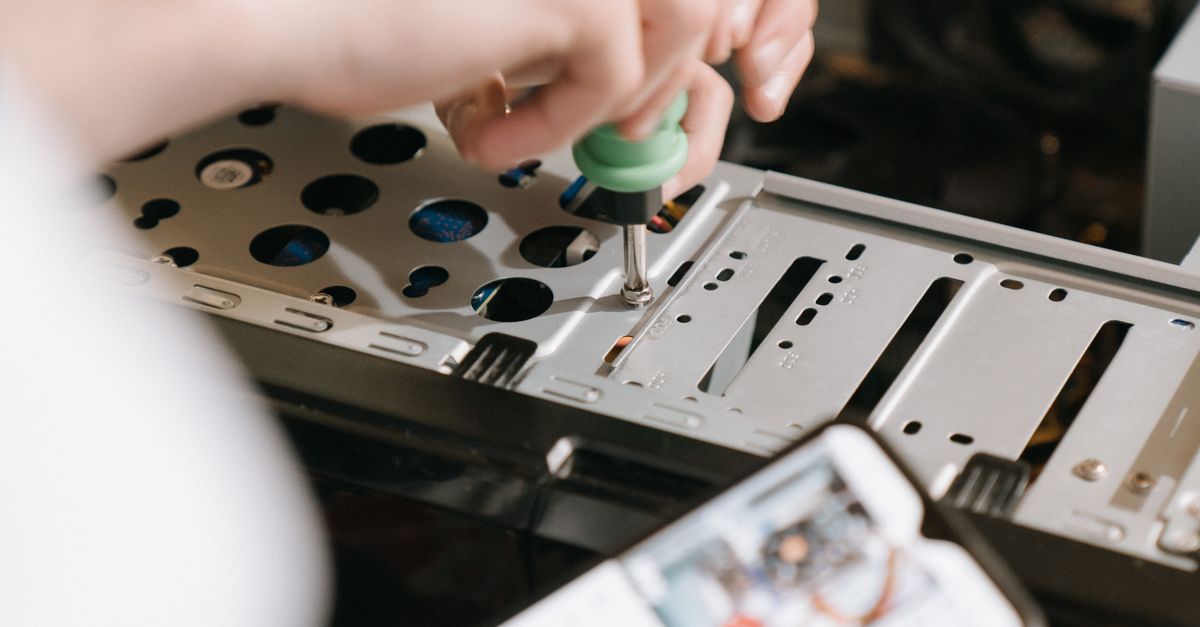
Identify the cables that connect the hard drive to the motherboard and the power supply. Gently disconnect these cables, ensuring not to force them as this could damage the connectors. After disconnecting the cables, locate the screws securing the hard drive in its bay. Use a compatible screwdriver to remove these screws, keeping them in a safe place for future use. Once the screws are removed, you can carefully slide the hard drive out of its bay, making sure to hold it securely to avoid dropping it.
Disconnecting Cables and Unscrewing
Begin by turning off your desktop PC and unplugging it from the power source. This step is essential for your safety and the protection of your hardware. Open the computer case by removing the side panel, usually held in place by screws or clips. Locate the hard drive within the casing, typically secured in a designated bay. Before proceeding, take a moment to note the cables connected to the hard drive; this will help during the installation of the new drive.
Carefully disconnect the SATA and power cables from the old hard drive. It may be necessary to wiggle the connectors slightly to free them. Set the cables aside, ensuring they do not get caught on any other components. Once the cables are disconnected, use a screwdriver to unscrew the mounting screws holding the hard drive in place. Keep these screws in a safe location for the installation of your new drive. After the screws are removed, gently slide the hard drive out of its bay.
Installing the New Hard Drive
Once the old hard drive has been successfully removed, it is time to install the new one. Begin by ensuring that the new hard drive is the correct size and type for your desktop. Align it strategically within the drive bay. Most cases support both 2.5-inch and 3.5-inch drives, with mounting brackets often required for the smaller drives. Securely fasten the hard drive using screws to avoid any movement during operation.
After positioning the hard drive, connect the necessary cables. Attach the SATA cable to the hard drive and the motherboard, ensuring a snug fit. The power cable should also be connected from the power supply unit to the hard drive. Check that all connections are firm and that the cables are organised to prevent interference with fans or other components within the case. With everything in place, you can proceed to the next steps in the setup process.
Proper Alignment and Connection
Ensure the new hard drive matches the mounting points in the drive bay. Typically, 3.5-inch drives are placed in larger bays while 2.5-inch drives are secured using brackets. Check for any pre-installed screws or adaptors. Align the screw holes of the hard drive with those provided in the bay.
Once in position, gently slide the hard drive into the bay, making sure it fits snugly. Connect the SATA power cable and data cable securely to the back of the hard drive. The connections should click into place. Verify that the cables are not strained or positioned in a way that could lead to future disconnections or damage.
Formatting the New Hard Drive
Once the new hard drive is successfully installed, the next step involves formatting it to prepare for use. Formatting establishes a file system that the operating system can recognise. This process deletes any previous data on the drive and provides a clean slate. Open the Disk Management utility on your computer, which is typically found within the Control Panel or via a right-click on the Start button. Locate the new hard drive in the list of available drives. It will usually display as unallocated space if newly installed.
Right-click on the unallocated space to create a new volume. The wizard will guide you through the formatting process, prompting you to choose a file system, typically NTFS for Windows or APFS for macOS. Assign a volume label that helps identify the drive later. Once complete, the operating system will perform a quick format or a full format, depending on your selection. After formatting, the hard drive will be accessible for storage and other tasks.
Initial Setup through Operating System
After physically installing the new hard drive, the next step involves configuring it through the operating system. This process usually begins with powering on the computer, where the BIOS or UEFI setup may need to be accessed to detect the new drive. Typically, this requires a simple keystroke during the boot process, such as F2 or Delete. Once inside the BIOS or UEFI, it’s important to confirm that the new hard drive is listed among the detected hardware devices.
Upon confirming detection, the operating system will usually handle the rest of the setup automatically. In Windows, navigating to Disk Management is essential to format the new drive and assign it a labelled drive letter. This ensures that the drive is ready for use, allowing for file storage and organisation. For macOS users, the Disk Utility application serves a similar purpose, requiring formatting of the new drive to the appropriate file system prior to usage.
FAQS
How do I know if my hard drive needs replacing?
Signs that your hard drive may need replacing include frequent crashes, unusual noises (like clicking), slow performance, and error messages. If your computer fails to boot or can’t read the drive, these are also strong indicators.
What tools do I need to replace a hard drive in my desktop PC?
Typically, you will need a screwdriver (usually a Phillips head), anti-static wrist strap (to prevent static damage), and possibly a SATA data cable if one isn't already attached to your new hard drive.
Can I replace my hard drive with an SSD?
Yes, you can replace your hard drive with a Solid State Drive (SSD). SSDs offer faster performance, lower power consumption, and greater durability than traditional hard drives.
Will replacing my hard drive delete my files?
If you are replacing the old hard drive with a new one and do not transfer your files beforehand, yes, all data on the old hard drive will be lost. It’s essential to back up your data before starting the replacement process.
How do I format my new hard drive after installation?
After installing the new hard drive, you can format it by accessing the Disk Management tool in the operating system. You will need to create a new volume, select the file system (usually NTFS for Windows), and follow the prompts to complete the formatting process.
Related Links
Common Signs Your Hard Drive Needs ReplacementChoosing the Right Hard Drive for Your PC Repair Needs
DIY Hard Drive Replacement: What You Should Know
The Benefits of Professional Hard Drive Replacement Services
FAQ About Hard Drive Replacement for PC Users